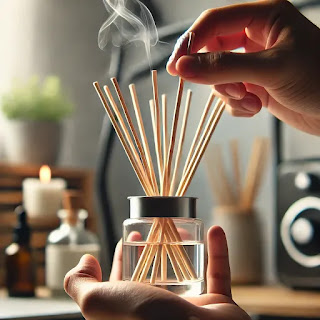
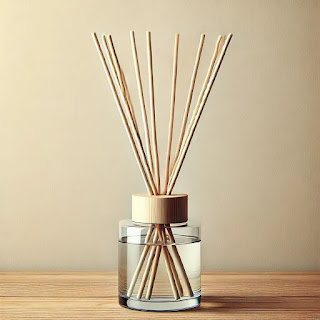
In the hustle and bustle of everyday life, finding ways to create a serene and relaxing environment at home is essential. One of the simplest and most effective methods is through the use of reed diffusers. Not only do they provide a constant source of pleasant aroma, but they are also a cost-effective alternative to store-bought options. This comprehensive guide will walk you through the process of creating your own reed diffuser, emphasizing the benefits of using natural essential oils and carrier oils.
Table of Contents
- Introduction
- Materials Needed
- Step-by-Step Guide
- Benefits of DIY Reed Diffusers
- Cost Comparison
- Customizing Your Scent
- Maintenance Tips
- Conclusion
Introduction
Reed diffusers are a popular choice for home fragrance due to their simplicity and effectiveness. They work by drawing essential oils up through natural reed sticks, which then release the scent into the air. This method is not only efficient but also provides a continuous aroma without the need for electricity or flames. By making your own reed diffuser, you can save money and customize the scent to your preference.
Materials Needed
To create your own reed diffuser, you will need the following materials:
- Glass Container: A clear glass container is ideal as it allows you to see the oil level and adds a touch of elegance to your decor.
- Reed Sticks: Natural reed sticks are essential for diffusing the fragrance effectively.
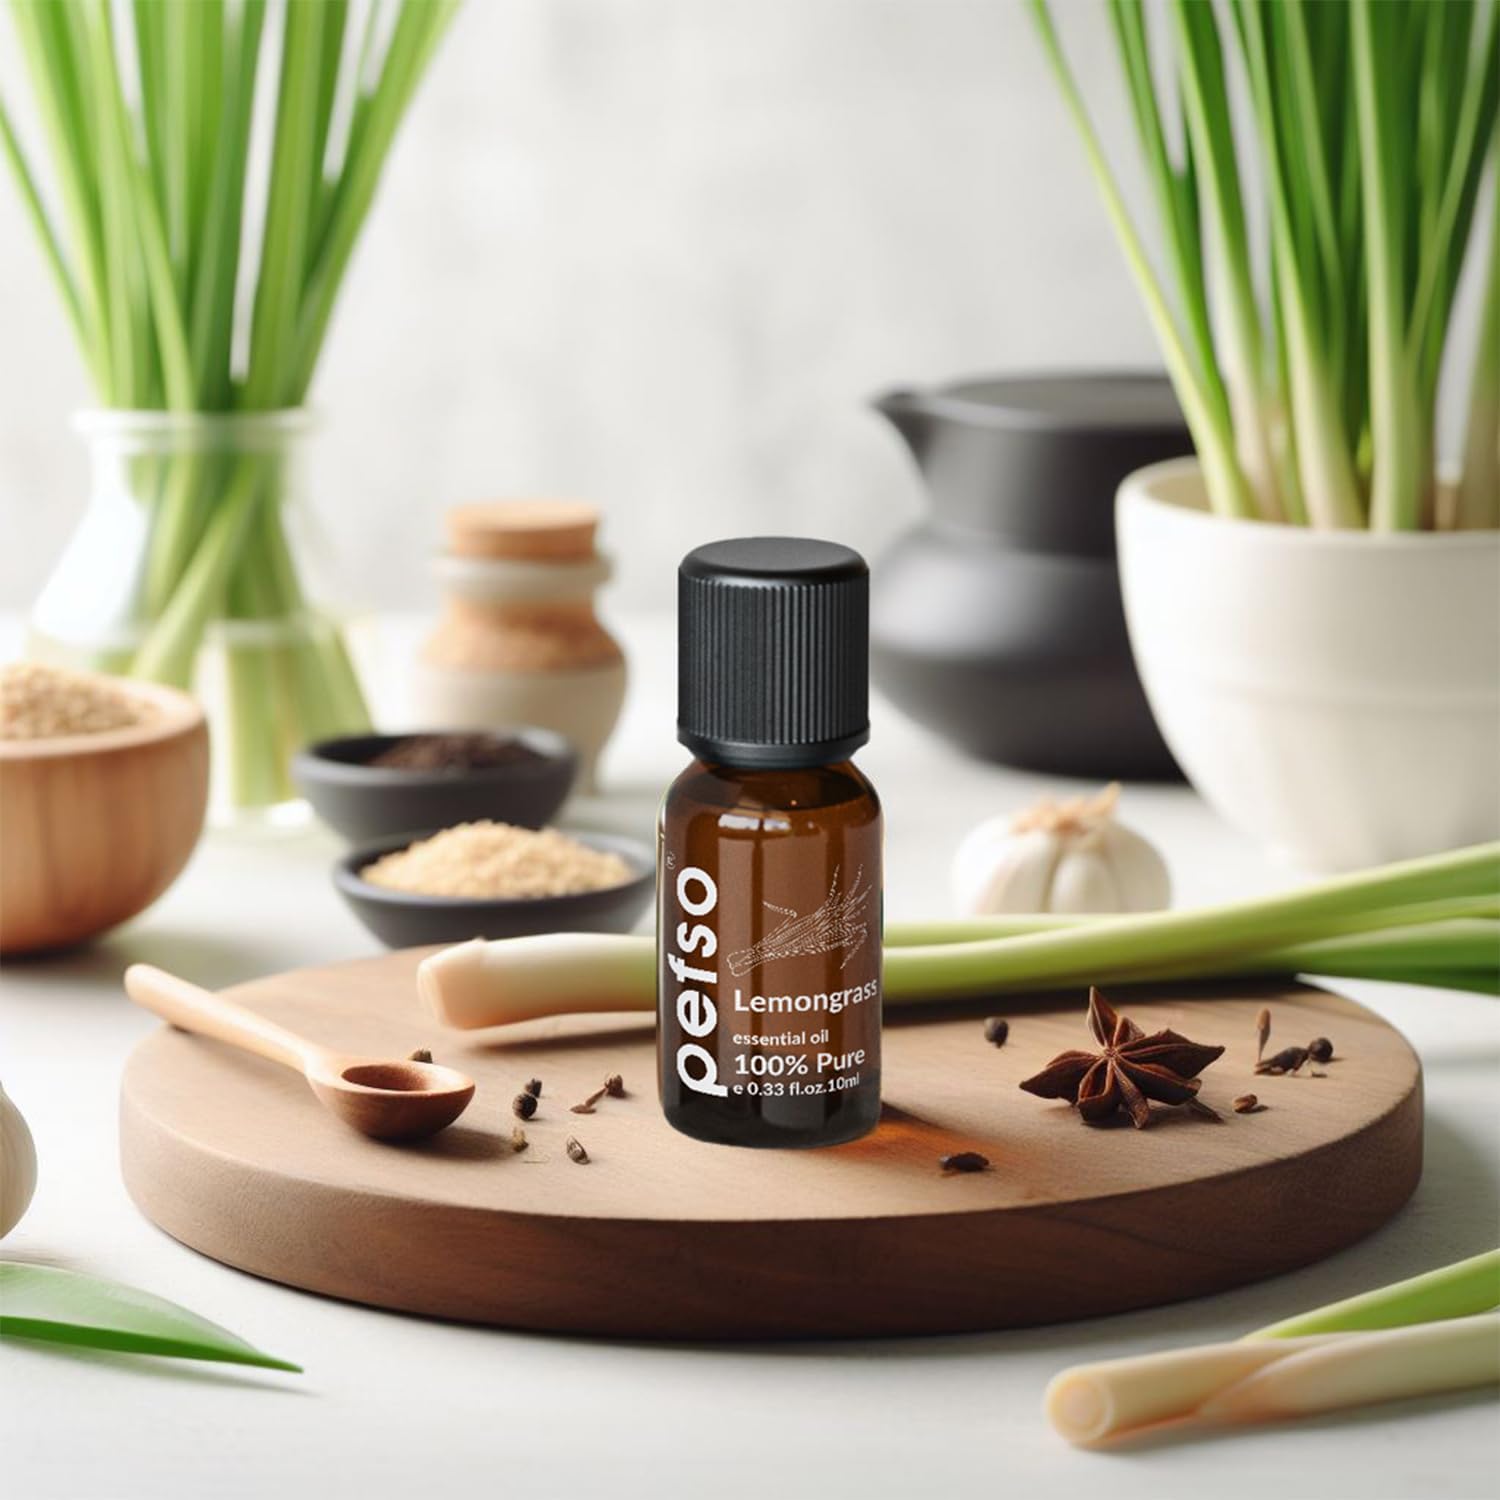
- Essential Oils: Choose from a variety of essential oils like peppermint, lavender, eucalyptus, or any scent you prefer.
- Carrier Oils: Common carrier oils include coconut oil, almond oil, and jojoba oil, which help to dilute the essential oils and facilitate diffusion.
- Measuring Tools: A small funnel and measuring cup will be helpful for mixing the oils.

Step-by-Step Guide
1. Prepare the Container
Start by selecting a clean, clear glass container. Ensure it is thoroughly cleaned and dried before use.

2. Mix the Oils
In a separate glass container, mix your chosen essential oils with a carrier oil. A typical ratio is 30% essential oil to 70% carrier oil. For example, if you are making 100ml of diffuser oil, you would use 30ml of essential oil and 70ml of carrier oil.

3. Insert the Reed Sticks
Pour the oil mixture into your glass container, then insert the reed sticks. Start with about 5-7 sticks, depending on the size of your container and the desired strength of the fragrance.

4. Allow the Sticks to Soak
Let the reed sticks soak in the oil for a few hours. Once they are saturated, flip the sticks so the dry end is now in the oil. This helps to start the diffusion process.

5. Place and Enjoy
Position your reed diffuser in a desired location in your home, preferably in a high-traffic area or near an air vent to help disperse the scent.

Benefits of DIY Reed Diffusers
Creating your own reed diffuser offers several advantages:
- Cost-Effective: Making your own diffuser is significantly cheaper than buying pre-made ones from the store.
- Customizable: You can tailor the scent to your liking by experimenting with different essential oil combinations.
- Natural Ingredients: Using essential oils ensures that your home fragrance is free from synthetic chemicals.
Cost Comparison
The following table compares the cost of a store-bought reed diffuser with a DIY reed diffuser:
|
ITEM |
STORE-BOUGHT PRICE |
DIY PRICE |
|---|---|---|
|
Reed Diffuser |
$20-$50 |
– |
|
Essential Oils (30ml) |
– |
$10-$15 |
|
Carrier Oils (100ml) |
– |
$5-$10 |
|
Reed Sticks (Pack of 10) |
– |
$2-$5 |
|
Glass Container |
– |
$3-$8 |
|
Total Cost |
$20-$50 |
$20-$38 |
As illustrated, making your own reed diffuser can be more economical, especially if you already have some materials on hand.
Customizing Your Scent
One of the greatest benefits of DIY reed diffusers is the ability to create personalized scents. Here are a few popular essential oil combinations:
- Relaxing Blend: Lavender, chamomile, and sandalwood.
- Refreshing Blend: Peppermint, eucalyptus, and lemon.
- Energizing Blend: Orange, grapefruit, and rosemary.
Feel free to experiment with different oils to find your perfect blend.
Maintenance Tips
To ensure your reed diffuser continues to provide a pleasant aroma, follow these maintenance tips:
- Flip the Reeds: Every week, flip the reeds to refresh the scent.
- Replace the Oil: Refill the container with fresh oil mixture every few months.
- Clean the Container: Periodically clean the container to prevent buildup of residue.
Conclusion
Creating your own reed diffuser is a simple, cost-effective, and customizable way to keep your home smelling wonderful. By using natural essential oils and carrier oils, you can ensure that your home fragrance is free from synthetic chemicals and tailored to your preferences. Follow the steps and tips outlined in this guide to enjoy the benefits of a DIY reed diffuser.
By taking a few minutes to create your own reed diffuser, you can transform your living space into a serene and inviting environment, all while saving money and enjoying the satisfaction of a personalized touch.
https://youtube.com/shorts/ItpKwYczTds?feature=share


